Spring in Cache Valley is both exciting and dangerous for your bees. After months of cold, your colonies are either building up or running out of food. March is the number one starvation month in Northern Utah. Colonies can burn through 3 pounds of stores per day with no forage yet.
Below is what to do from the first warm day through the start of nectar flow. Follow it and your hives will be strong, healthy, and ready to take advantage of our peak June bloom.
March: Survive the Hunger Gap
Your bees have been clustered since November. Their stores are low, the queen is starting to lay again, and there is nothing blooming yet. This is the most dangerous month.
- Heft test. Lift the back of each hive. If it feels light (under 30 lbs), they need emergency feed immediately. Don't wait for a warm day. Slide in a pollen patty or fondant through the top without pulling frames.
- Check for life. On a calm afternoon above 45°F, watch the entrance for 5 minutes. You should see bees taking cleansing flights. A few dead bees on the landing board are normal. No activity at all is a problem.
- Clear dead bees from the entrance. Piles of dead bees can block the entrance and trap the living colony inside. Use a stick or hive tool to clear the opening.
- Leave insulation and moisture quilts in place. We regularly get sub-zero nights through mid-March. Don't remove winter wraps yet.
- Order supplies now. Replacement frames, foundation, and treatments sell out in spring. Get your order in before April.
April: First Real Inspection
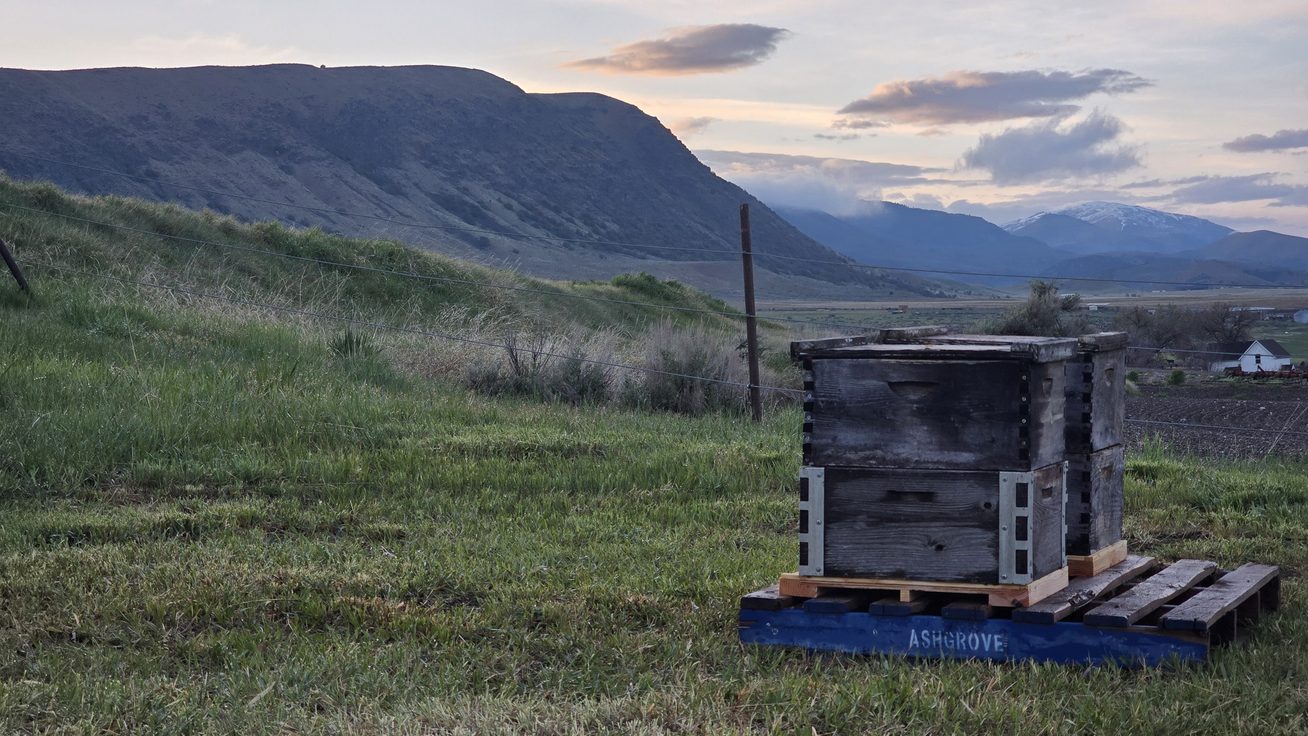
Once daytime temperatures consistently reach 55°F, it's time for your first full inspection. In Cache Valley, this usually falls in mid to late April. This is what to look for.
The Queen
You don't need to find the queen herself. Look for fresh eggs, small white grains standing upright in the bottom of cells. If you see eggs, the queen was laying within the last 3 days. That's good enough.
If you find no eggs and no young larvae:
- Look more carefully. Eggs are easy to miss in dim light.
- Check for queen cells (emergency cells on the face of comb, or swarm cells hanging from the bottom of frames)
- If the colony is truly queenless, order a new queen or combine with another hive
Food Stores
The colony needs at least 2–3 frames of capped honey to make it to dandelion bloom (mid-May in the valley). If stores are low, start feeding 1:1 sugar syrup immediately using a hive top feeder.
Brood Pattern
A healthy queen lays in a tight, solid pattern. Look for frames with large patches of capped brood (tan-colored cappings, slightly raised). Scattered or spotty brood patterns can indicate a failing queen, disease, or poor nutrition.
Disease Check
While you're inspecting brood frames, look for signs of trouble:
- Sunken or punctured cappings: possible American Foulbrood (serious, contact the state apiarist)
- Chalky white or black mummies in cells or on the bottom board: Chalkbrood, usually resolves as the colony builds up
- Watery or ropey larvae: possible European Foulbrood, may need treatment
Colony Strength
Count the number of frames covered with bees (seams of bees). A healthy colony in April should cover at least 4–6 frames. Weaker colonies may need to be combined with stronger ones. Two weak hives don't make one strong one.
Spring Inspection To-Do List
- Reverse brood boxes. If the cluster has moved entirely into the upper box (common), swap the boxes so the full box is on the bottom. This gives the queen room to expand upward.
- Replace old comb. Pull any frames that are black, warped, or heavily stained. Rotate in fresh frames with foundation.
- Clean the bottom board. Scrape off debris, dead bees, and wax cappings from winter. This reduces disease pressure.
- Remove entrance reducers. As the colony grows, they need full ventilation. Switch from the small winter opening to the large opening, or remove entirely by May.
- Start feeding. If stores are light, begin 1:1 sugar syrup and pollen patties.
- Register your hives. Utah requires hive registration with UDAF. Do it online at the Utah Department of Agriculture website.
May: Swarm Prevention
May is peak swarming month in Cache Valley. Your colony has been building up for weeks, and if they feel crowded, they'll split and take half your bees and your queen with them.
Why Bees Swarm
Swarming is natural reproduction at the colony level. The triggers are:
- Congestion: the brood nest is full and the queen has nowhere to lay
- Poor ventilation: an overheated, crowded hive
- Strong spring buildup: healthy colonies swarm more than weak ones
Swarm Prevention Checklist
- Inspect every 7–10 days from May through mid-June. Look at the bottom of frames for queen cells (peanut-shaped, hanging downward).
- Add space. When 7 of 10 frames in the top box are drawn with comb and covered with bees, add another box. Don't wait until they're packed.
- Open the entrance fully. Maximum ventilation reduces congestion.
- Consider splitting. If you find capped queen cells, the colony has already committed to swarming. Your best option is a controlled split. Move frames with queen cells into a new hive body.
May: First Varroa Check of the Season
Before you add honey supers, do your first Varroa mite count of the year. An alcohol wash or sugar roll takes 10 minutes and tells you exactly where you stand.
Scoop about 300 bees (half a cup) from a brood frame into a jar with rubbing alcohol. Shake for 30–45 seconds and count the mites through a mesh screen. Divide by 3 to get your mites per 100 bees.
- Under 2 mites per 100 bees: you're in good shape. Monitor again in July.
- 2–3 mites per 100 bees: watch closely, treat soon.
- Over 3 mites per 100 bees: treat now, before adding supers. Formic Pro can be used with honey supers on if temperatures are 50–85°F.
For detailed treatment options and timing, see our Varroa Treatment Guide for Cache Valley.
Late May – Early June: Get Ready for Nectar Flow
When the clover and alfalfa start blooming in late May to early June, the nectar flow kicks in hard. This is when your bees can build stores quickly, if they have the space.
- Add honey supers. Place a medium super with drawn comb or foundation above a queen excluder.
- Stop feeding. Once natural nectar is coming in (bees making white wax, fresh nectar glistening in cells), stop sugar syrup. You don't want syrup in your honey supers.
- Add supers early. If you wait until supers are full to add another, you're already behind. Bees need room.
Spring Equipment Checklist
Make sure you have these on hand before your first spring inspection:
- Smoker with fuel pellets
- Hive tool (or J-hook hive tool for easier frame lifting)
- Hive top feeder and sugar syrup
- Pollen patties for early-season protein
- Spare frames and foundation for comb replacement
- Extra frames for splits if needed
- Bee brush
- Rubbing alcohol (91%) and a mason jar for Varroa testing
Spring Startup Kit
Get everything you need for spring feeding, colony health, and swarm prep in one click.
Spring Startup Kit
Get your colonies off to a strong start after winter. Feeding supplies, health boosters, and swarm prep for experienced beekeepers.
Returning beekeepers managing overwintered hives, new nucs, or spring splits that need support right away.
Built around early feeding, stimulation, and swarm prep for cold nights and late spring bloom timing in Cache Valley.
Losing momentum because colonies run short on feed or swarm preparation before forage fully opens up.
What's included (6 items)
- Top Hive Feeder
- Pollen Patties
- Honey-B-Healthy
- Amino-B Booster
- Entrance Reducer
- Lemongrass Oil
Related Guides & Supplies
Spring inspections connect directly to what blooms next and how quickly mites can get ahead of you once brood ramps up.
- How to Start Beekeeping in Cache Valley. The full beginner setup guide if you're still getting your first hive in place.
- Cache Valley forage guide. Use it to decide when feeding can stop and supers should go on.
- Varroa mite treatment guide. Your late-May mite count is the first step in that treatment calendar.
- Browse hive components, frames & foundation, and bee health supplies before swarm season hits.
Product links above go to Amazon.com. As an Amazon Associate I earn from qualifying purchases.