Installing package bees isn't complicated, but the first 15 minutes matter. A rushed install can cost you the queen, stress the bees, or leave a colony starting behind for no good reason.
A package is a box of loose worker bees with a caged queen. Unlike a nuc, this colony is not already established on frames. Your job is to transfer those bees into their hive, place the queen correctly, feed them immediately, and then leave them alone long enough to settle.
What Are Package Bees?
Package bees usually arrive in a screened box containing around three pounds of bees plus a queen in a separate cage. The bees have enough syrup for travel, but they still need a proper hive as soon as possible. Because they do not have comb, brood, or food stores yet, the first few days are all about stability and feed.
If you are still weighing your options, it helps to compare a package against a local nuc before ordering. If you already have the package in hand, here is how to get it installed cleanly.
What to Prepare Before Installation Day
Before you crack open the package, get every tool and hive component where you need it. Do not be the person trying to find a hive tool while a thousand bees are circling your head.
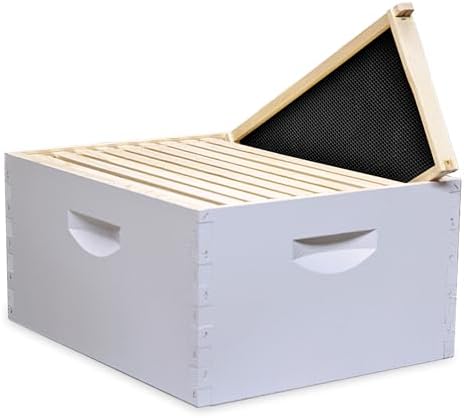
- Assembled hive body with frames in place and enough room to remove a few temporarily.
- Bottom board, lid, and inner cover already set nearby.
- Feeder with 1:1 syrup ready to go as soon as the bees are inside.
- Protective gear: at minimum a veil and jacket.
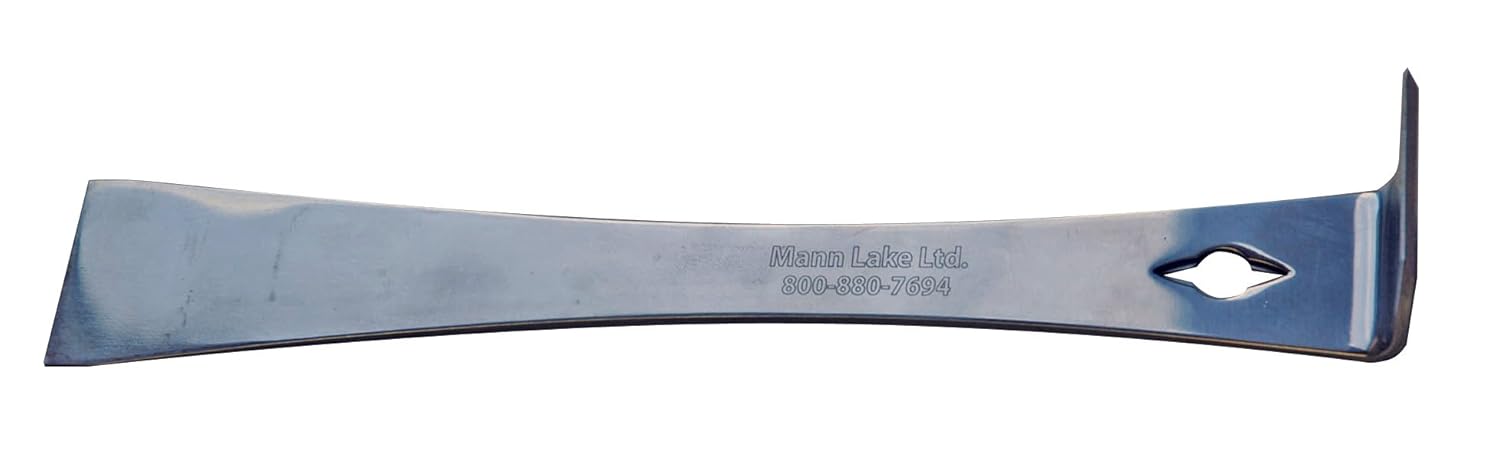
- Hive tool for prying open the package and positioning the queen cage.
- Smoker lit lightly if you prefer it, though many package installs can be done with little or no smoke.
- A stable hive stand in the exact spot where the colony will live.
Good starter gear matters here. If you still need basics, check our hive components, and keep items like feeders, protective gear, and basic hive tools ready before the bees arrive.
Choose the Best Time and Conditions
The ideal install window is a calm, mild day with enough daylight left that the bees can orient. Avoid installing in strong wind, cold rain, or near dusk if you can help it. In Cache Valley, package pickups usually land in mid-to-late April, and the weather that week can swing from a 70-degree afternoon to snow on the benches in 48 hours. We tell folks the same thing every spring: don't install the box the second you get home if it's blowing 25 mph and 45 degrees — set the package somewhere cool and dark, mist the screen with a little syrup, and wait for the next half-decent afternoon. A package will sit happily for a day; a queen lost to a botched cold-windy install costs you weeks.
Place the hive where it will stay permanently. Facing the entrance southeast is a good default in northern Utah so the hive catches morning sun, and tucking it behind a fence, shed, or tree line on the north side pays off when our valley wind picks up. Once package bees start orienting, moving them right away adds unnecessary confusion. If you're setting up your first hive from scratch, our guide to starting beekeeping in Cache Valley covers placement and timing in more detail.
How to Install Package Bees Step by Step
1. Set the hive up and remove a few frames
Open the hive body and remove three to four center frames. You need room to shake the bees in without crushing them. Set the frames somewhere clean and nearby in the order they came out.
2. Spray lightly if needed
Some beekeepers lightly mist the package screen with sugar water to keep the bees calmer during handling. This is optional. Do not soak them. A little moisture is fine; a sticky mess is not.
3. Remove the feeder can and queen cage
Open the package carefully. Lift out the syrup can first, then remove the queen cage. Keep a thumb or piece of cardboard over the opening so the workers do not boil out while you are handling the queen cage.
4. Check the queen cage
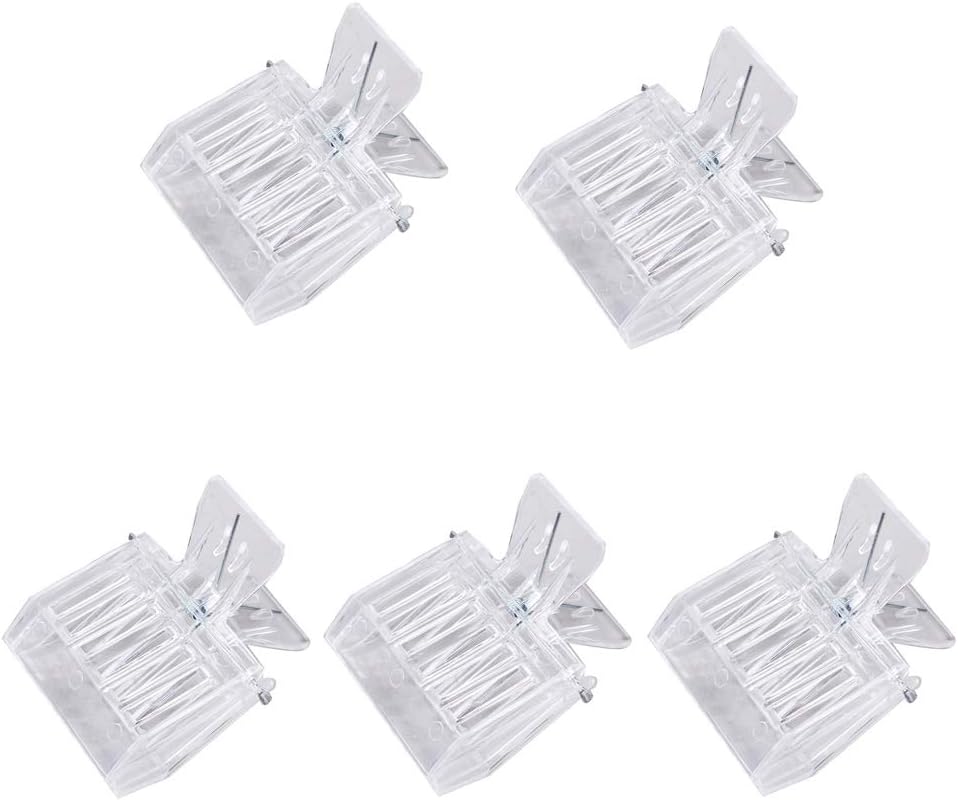
Make sure the queen is alive and moving normally. Most cages have a candy plug the bees will chew through over several days. If your supplier has specific instructions for removing a cork or releasing the candy end, follow them. Do not rush to direct-release the queen unless you really know what you are doing.
5. Place the queen cage between center frames
Position the queen cage between two center frames with the screen accessible to worker bees. The exact method varies by cage style, but the goal is simple: keep the queen secure while allowing workers to feed and attend her. Avoid placing the candy end where dead attendants could block the exit.
6. Shake the bees into the hive
With the queen cage placed, turn the package upside down over the open hive and give it a firm shake so the bees fall into the open space. It will feel dramatic. That is normal. A few decisive shakes are better than timid wiggling.
7. Replace the frames gently
Once most of the bees are in the hive, replace the removed frames slowly so you do not roll or crush large clusters. Keep the queen cage area intact. You want the bees to settle around her, not have her dislodged.
8. Add the feeder right away
Fresh packages need feed. Install your feeder immediately with 1:1 sugar syrup. Drawing comb is expensive work for bees, and syrup gives them the fuel to get started. This is not optional in most package installs.
9. Leave the package box at the entrance briefly
If a bunch of bees remain in the shipping box, set it near the hive entrance for a little while. Stragglers will often march in on their own. By evening, most of them will have joined the cluster.
What to Do in the First 24 Hours
After installation, your main job is restraint. Close the hive up and let the bees organize. Constantly reopening the box does not help them accept the queen faster.
- Make sure the entrance is open and unobstructed.
- Confirm the feeder is accessible and full.
- Watch from the outside for normal orientation flights.
- Do not disturb the queen cage placement unless something is clearly wrong.
Some beekeepers get nervous because the hive looks chaotic on day one. That is normal. The bees are finding the queen, orienting to the entrance, and starting to cluster in the box.
When to Inspect After Installing Package Bees
Plan your first real check at about 3 to 5 days after installation. You are looking for three things:
- Has the queen been released?
- Are the bees calm and beginning to draw comb?
- Do they still have syrup available?
If the queen is still caged after several days and the bees are attending her calmly through the screen, you may need to help a little depending on the cage style and supplier instructions. If the bees are acting aggressively toward the cage, slow down and assess before making changes.
Common Mistakes When Installing Package Bees
- Installing without feed ready. Packages need syrup immediately.
- Direct-releasing the queen too soon. Queen acceptance takes time.
- Opening the hive every day. Let the colony settle.
- Crushing bees while replacing frames. Slow hands matter.
- Installing into unprepared equipment. Build first, bees second.
- Skipping follow-up checks. You still need to confirm queen release and comb building.
What Happens Next?
If all goes well, the bees will begin drawing comb almost immediately, the queen will be released and start laying, and the colony will transition from a shaken package into a functioning hive over the next couple of weeks. Keep feeding as needed until the colony has drawn enough comb and incoming nectar is reliable.
Once the colony is building, stay on top of the basics: space management, brood pattern checks, and Varroa monitoring. A clean install matters, but it is only the beginning.
Get Everything You Need for Installation Day
If you are still gathering equipment, this kit bundles the hive, protective gear, tools, and feeder you need for a clean install and a strong first year.
Beginner Complete First-Year Kit
Everything you need for a confident first year of beekeeping, including room to expand when your colony grows.
First-year beekeepers who want one confident purchase with enough room to grow through spring and summer.
Adds feeding and expansion gear that matters when colonies explode during Cache Valley's brief nectar flow.
Getting caught under-equipped when the colony fills the first brood box faster than expected.
What's included (11 items)
- Brood Kit (2 Deep Supers + 20 Frames)
- Bee Jacket
- Goatskin Leather Gloves
- Hive Tool
- Smoker
- Smoker Fuel
- Bee Brush
- Top Hive Feeder
- Entrance Reducer
- Honey Super Kit (Medium)
- Beekeeping for Dummies
Final Word
The best answer to how to install package bees is simple: prep the hive first, place the queen correctly, shake the bees in with confidence, feed immediately, and then give them enough quiet to become a colony. That is the whole game.
If you want a smoother first season, preparation beats bravery every time.