Cache Valley is one of the best places in Utah to keep bees. Alfalfa fields, clover meadows, and wildflowers all over the surrounding hillsides give our bees access to forage that most beekeepers would envy. But getting started the right way matters. A few early mistakes can cost you a hive and an entire season.
We've put this guide together from years of keeping bees in this valley. It covers everything you need to go from curious beginner to confident first-year beekeeper, specifically for our climate and conditions.
Why Beekeeping in Cache Valley?
The valley floor is rich with alfalfa and clover. The Bear River Range to the east and the Wellsvilles to the west add a diverse mix of native plants that extend the foraging season well into late summer. Pick a decent hive location and your bees will do most of the work.
The Cache Valley Beekeepers Association (CVBA) is an active local club that offers mentorship, events, and a real sense of community. USU Extension also runs beginner beekeeping workshops through the year. When something goes sideways in your hive, and it will, having experienced beekeepers to call makes all the difference.
What Equipment Do You Need?
Before your bees arrive, your equipment needs to be assembled and ready. Bees won't wait while you figure out how a frame fits together. Here's what you actually need:
The Hive
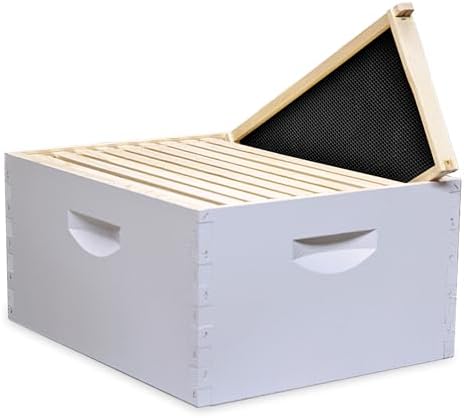
A standard 10-frame Langstroth with two deep brood boxes, a bottom board, inner cover, and outer cover. This is your foundation.
Frames & Foundation
10 frames per box with waxed foundation. Foundation gives bees a template to build comb. Beeswax or plastic both work for beginners.
Protective Gear
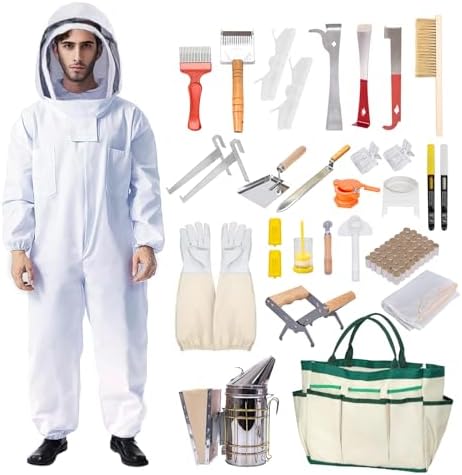
A bee jacket or full suit with a veil, plus leather gloves. Don't skip this as a beginner. Stings while you're still learning are discouraging.
Basic Tools
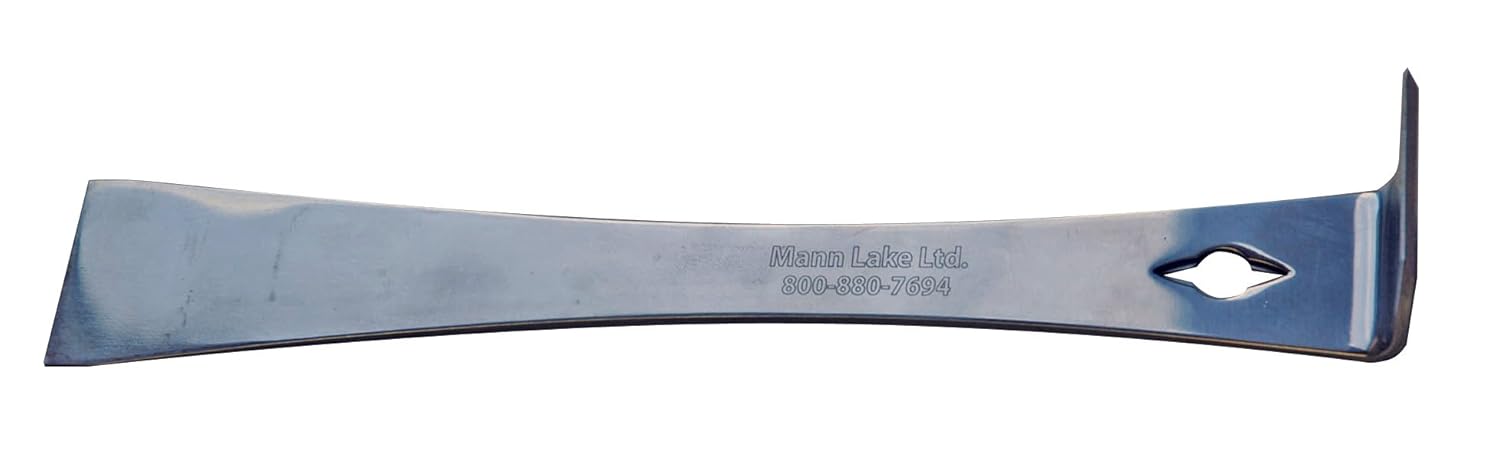
A hive tool for prying frames, a smoker with fuel, and a bee brush. These three cover 90% of your inspections.
A Feeder
New packages need supplemental feeding. An entrance feeder or hive-top feeder with 1:1 sugar syrup gets them established quickly.
A Good Book
The Beekeeper's Handbook by Sammataro is the gold standard. Beekeeping for Dummies is solid too. Keep one on your shelf all season.
Product links above go to Amazon.com. As an Amazon Associate I earn from qualifying purchases.
The fastest way to get started is a complete hive kit that bundles the boxes, frames, and covers together. You'll still need protective gear and tools separately.
Get Everything You Need in One Click
We have bundled the gear listed above into ready-to-buy kits at three price points. Add the whole kit to your Amazon cart with one click.
Beginner Basic Starter Kit
The bare essentials to get your first hive set up and inspect safely. A solid budget-friendly starting point.
Brand-new beekeepers who want to start one hive without overspending on extras they may not use yet.
Keeps the first setup simple so you can get bees installed fast during Cache Valley's short spring buildup window.
Buying a random bargain bundle that still leaves you missing a smoker, gloves, or feeder on install day.
What's included (6 items)
- Basic Hive Kit
- Bee Jacket
- Goatskin Leather Gloves
- Hive Tool
- Smoker
- Entrance Feeder
Beginner Complete First-Year Kit
Everything you need for a confident first year of beekeeping, including room to expand when your colony grows.
First-year beekeepers who want one confident purchase with enough room to grow through spring and summer.
Adds feeding and expansion gear that matters when colonies explode during Cache Valley's brief nectar flow.
Getting caught under-equipped when the colony fills the first brood box faster than expected.
What's included (11 items)
- Brood Kit (2 Deep Supers + 20 Frames)
- Bee Jacket
- Goatskin Leather Gloves
- Hive Tool
- Smoker
- Smoker Fuel
- Bee Brush
- Top Hive Feeder
- Entrance Reducer
- Honey Super Kit (Medium)
- Beekeeping for Dummies
When Should You Get Bees in Cache Valley?
Timing is one of the biggest decisions you'll make, and up here it's dictated by our elevation and frost dates.
| Time of Year | What to Do |
|---|---|
| January – February | Order your bees now. Packages and nucs from reputable suppliers sell out early. Don't wait until spring or you'll be too late. |
| March – April | Assemble and paint your equipment. Attend a CVBA meeting or USU Extension workshop. Prepare your hive location. |
| Late April – May | Install your package or nuc. Feed with 1:1 sugar syrup. First inspection after 5–7 days to confirm the queen is laying. |
| June – August | Active season. Weekly or bi-weekly inspections. Add supers as the hive builds up. Start monitoring for Varroa. |
| September | Harvest honey if you have surplus. Begin winter prep. Treat for Varroa mites. This is your most important treatment window. |
| October – November | Winterize. Reduce entrance. Add insulation or a moisture quilt. Stop inspecting once temperatures drop consistently below 50°F. |
The most common beginner mistake in Utah is ordering bees too late. By March, many suppliers are sold out. Order in January or February for a late April or May installation.
Packages vs. Nucs: Which Should You Get?
Package Bees
A package is roughly 3 pounds of bees (about 10,000) plus a caged mated queen in a screened box. The bees and queen are strangers, so the colony has to bond and build from scratch. Packages are widely available and less expensive, but they take longer to establish.
Five-Frame Nuc
A nuc is a small, already-functioning colony on 5 frames: brood, honey, pollen, workers, and a laying queen. The colony is up and running from day one. Nucs establish faster, are more forgiving for beginners, and give you a real head start on our short season.
Our recommendation for Cache Valley: if you can find a local nuc, get the nuc. The faster establishment gives you more margin before winter hits. Check our Find Bees page for suppliers of packages and nucs.
Choosing the Right Location
Where you put your hive matters more than most beginners realize. A well-placed hive is easier to manage and more likely to make it through a Cache Valley winter.
- Morning sun, afternoon shade. Face the entrance southeast. Early sun gets bees foraging sooner. Afternoon shade prevents overheating in July.
- Windbreak to the north. Our valley gets brutal north winds in winter. A fence, shed, or tree line on the north side makes a measurable difference in winter survival.
- Level ground, slight forward tilt. A small forward tilt lets rain and condensation drain out the entrance instead of pooling inside the hive.
- Away from foot traffic. Bees defend a flight path about 6 feet in front of the entrance. Keep that path clear of walkways, play areas, and neighbors.
- Water source nearby. Bees need water constantly. A birdbath or drip pan within 300 feet keeps them out of your neighbor's pool.
- Off the ground. A hive stand or cinder blocks reduces moisture and makes it harder for skunks (common here) to scratch at the entrance at night.
Varroa Mites: The Thing That Will Kill Your Hive
Varroa destructor is a parasitic mite that feeds on honeybees and spreads viruses. It is the number one killer of colonies in North America, and every hive in Cache Valley has them.
Most beginners lose their first hive without ever knowing why. The answer is almost always Varroa that went unmanaged.
Monitor Early and Often
An alcohol wash or sugar roll gives you a mite count per 300 bees. Three or more mites per 100 means it's time to treat. Do your first mite wash in June, then again in August. Don't guess. Count.
Treatment Options
Apivar (amitraz strips) is effective and beginner-friendly. You put the strips in and pull them out weeks later. Formic Pro (formic acid pads) is another strong option that can be used with honey supers on. Both are available through our Bee Health section.
The critical treatment window in Cache Valley is late August to September. Your bees are raising the winter cluster right now, the bees that need to survive until March. If those bees emerge weakened by Varroa-transmitted viruses, the colony won't make it.
Local Resources
Cache Valley Beekeepers Association (CVBA)
Regular meetings, mentorship, and community. Joining a local club is one of the highest-payoff moves a new beekeeper can make. You'll learn faster, troubleshoot sooner, and have someone to call when something looks wrong in the hive.
USU Extension Beekeeping Workshops
Utah State University Extension runs beginner series at their Logan campus covering hive installation, pest management, and honey harvesting. Check their schedule in late winter. These fill up fast.
Online Resources
We keep a short list of online beekeeping courses and resources if you want to study up before your bees arrive. A good foundation of knowledge before your first inspection makes the whole season less stressful.
Your First-Year Checklist
If you follow this timeline, you'll be in good shape for your first year in Cache Valley:
- January–February: Order bees from a reputable supplier. Don't wait. They sell out.
- February–March: Order or assemble your hive equipment. Paint the exterior.
- March: Attend a CVBA meeting or USU Extension beginner workshop.
- April: Set up your hive location. Prepare sugar syrup (1:1 ratio).
- Late April–May: Install your package or nuc. Start feeding immediately.
- 5–7 days after install: First inspection. Confirm the queen is released and laying.
- June–August: Weekly inspections. Add supers when the top box is 70% drawn. Monitor Varroa in June.
- August: Second Varroa mite count. Treat if above threshold (3 mites/100 bees).
- September: Harvest surplus honey. Treat for Varroa. Begin feeding 2:1 syrup if stores are light.
- October: Winterize. Reduce entrance, add moisture quilt, make sure stores are adequate (60+ lbs of honey).
- November–March: Leave the hive alone. Check weight occasionally. Start planning for year two.
Recommended Starter Equipment
This is the gear we'd put in a new beekeeper's hands on day one:
- Deep Hive Body Kit (10 Frame). Assembled box with frames and foundation. Get two.
- Medium Super Kit (10 Frame) for your honey super once the brood boxes are built up.
- Stainless Steel Smoker. You'll use it every inspection.
- Hive Tool for prying frames apart.
- Bee Brush for gently moving bees off frames during inspections.
- Bee Jacket with Veil. Comfortable enough that you'll actually wear it.
- Goatskin Leather Gloves. Flexible enough to work frames, tough enough to stop stings.
- Hive Top Feeder. Holds more syrup than an entrance feeder and draws less robbing.
- Queen Excluder to keep the queen out of your honey supers.
- The Beekeeper's Handbook, the reference book you'll reach for all season.
Keep Reading
Once your first hive is assembled, the next big wins are timing your spring inspections and learning how Cache Valley forage changes through the season.
- Spring Beekeeping Checklist for Cache Valley. What to look for on that first warm inspection day.
- What's Blooming for Bees in Cache Valley? Local nectar flow timing so you know when to feed and when to super.
- Shop hive kits, hive components, and protective gear if you're still building out your starter setup.
As an Amazon Associate I earn from qualifying purchases. Prices may vary.