Buy first
Hive setup, protective clothing, hive tool, smoker, and feeder. These are the items that affect nearly every inspection.
Setting up your first hive in Cache Valley? Start with gear that solves the problems beginners actually run into: confident inspections, reliable feeding, and a mite plan ready before fall. Below are the essentials we'd buy first, with a short note on why each one earns its spot.
Don't treat this like a shopping spree. It's a short list of gear that solves the problems first-year beekeepers in Cache Valley actually hit: staying steady during inspections, feeding a new colony when spring weather swings cold, and having a mite plan ready before late summer pressure shows up.
If you're buying in stages, start with protective gear, a hive tool, a smoker, and your core hive setup. Add feeding tools and bee-health items after that. You don't need every gadget in the catalog, you need the few tools that make routine hive work easier so you keep doing it.
Hive setup, protective clothing, hive tool, smoker, and feeder. These are the items that affect nearly every inspection.
Extra frames, a second feeder option, and simple storage or handling tools once your colony is established.
Skip specialty gadgets until you know you need them. Most beginners do better with fewer, more dependable tools.
These are the first-year essentials that make package installs, spring inspections, and cold-weather feeding much smoother in Cache Valley.

A jacket with a veil is the fastest way to make early inspections feel manageable. Northern Utah colonies can get testy on windy afternoons, and beginners inspect more consistently when they feel protected.
Start here if you only buy one piece of protective gear. It covers the stings that shake confidence fastest.
View on Amazon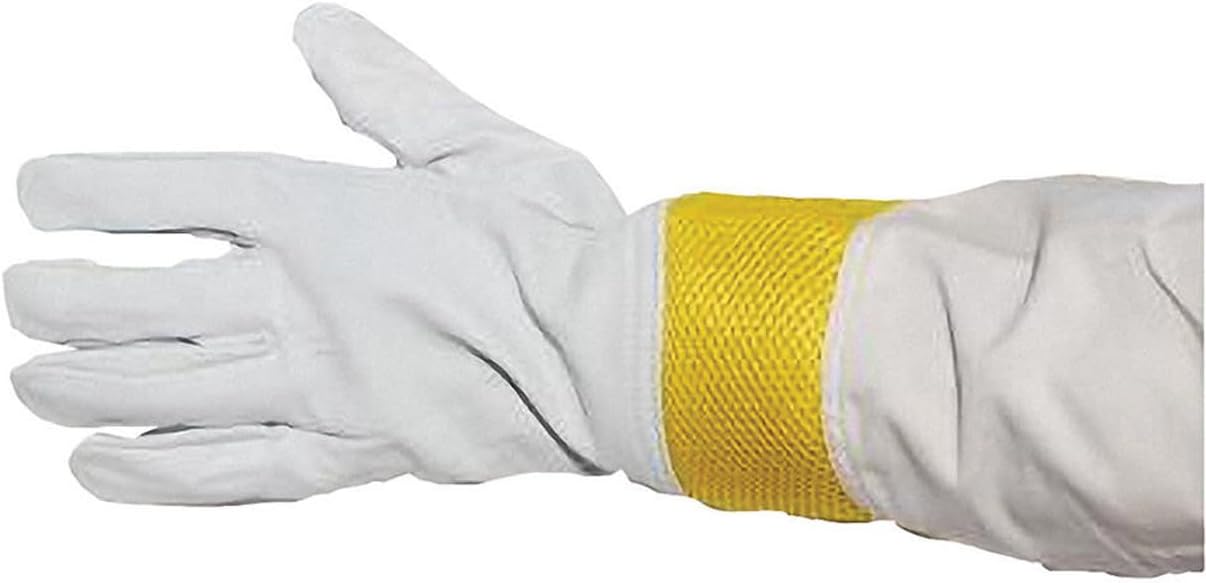
Good gloves give you enough sting protection to stay calm without turning every frame into a wrestling match. They are especially helpful during package installs and the first few brood inspections.
Worth it for beginners who want protection but still need enough feel to handle frames safely.
View on Amazon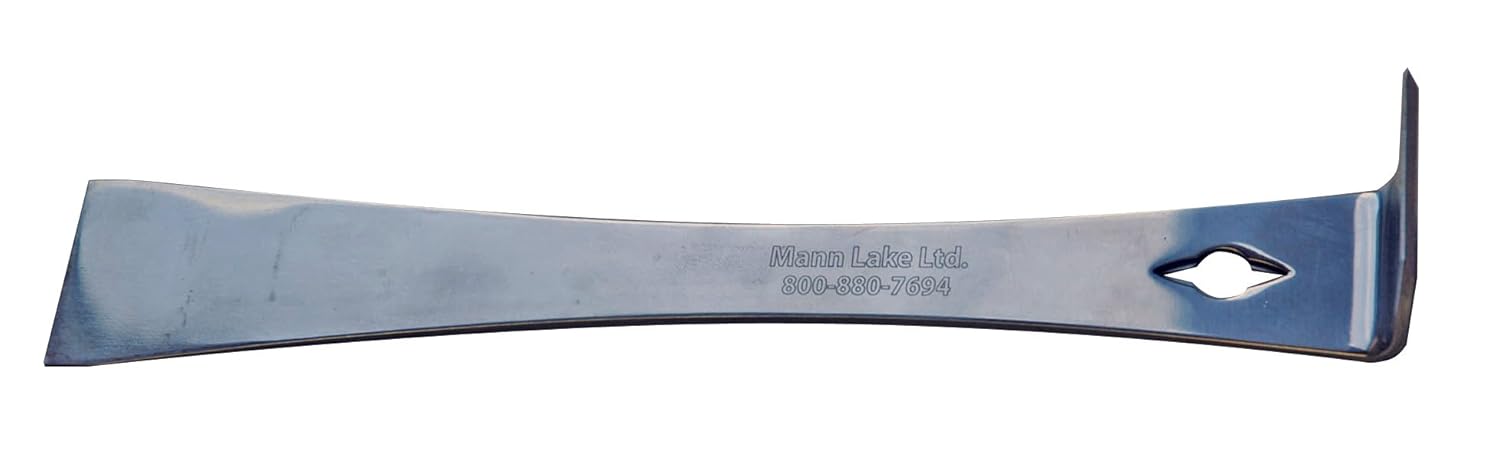
Every inspection starts with a hive tool. In spring, propolis and burr comb glue boxes together hard enough that a flimsy tool becomes a frustration multiplier immediately.
The single tool you will use every visit, from separating boxes to scraping burr comb.
View on Amazon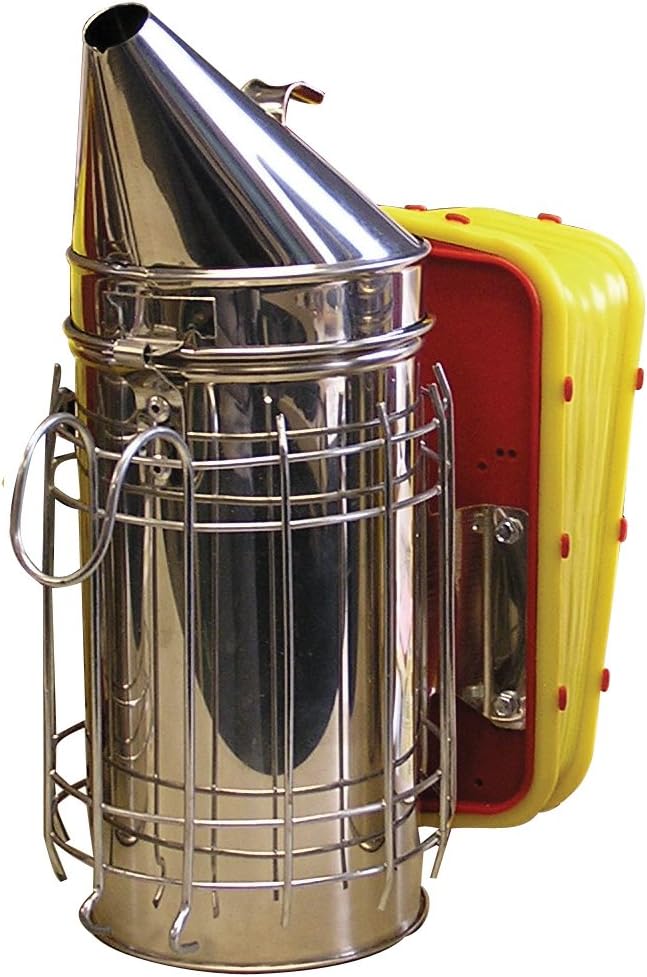
A dependable smoker buys you calmer inspections when colonies are building fast and your technique is still getting better. Cheap smokers go out at exactly the wrong time.
A standard stainless smoker is still the best first inspection tool after your hive tool and veil.
View on Amazon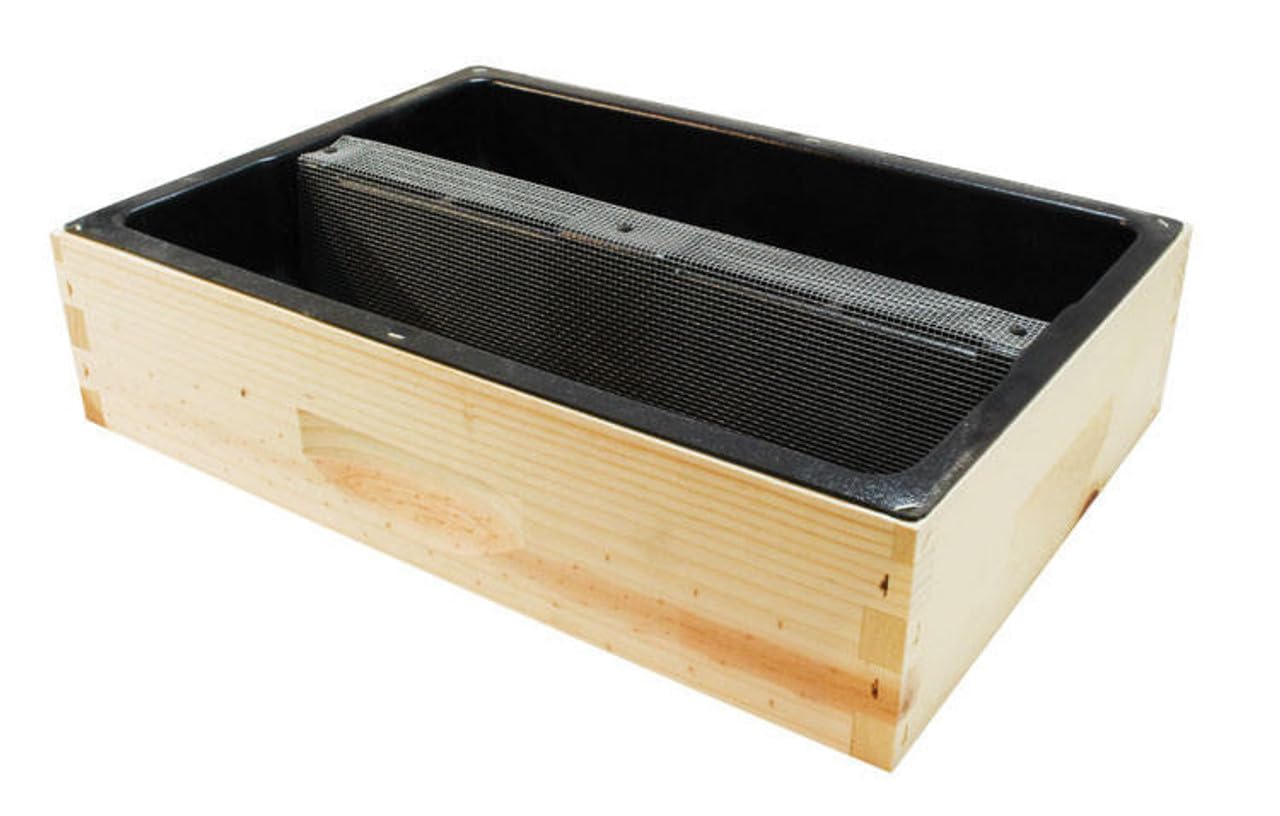
Cache Valley spring can swing from warm to snow again. A top feeder makes it much easier to keep a package or nuc fed while they draw comb and build population.
Better capacity and less robbing pressure than most entrance feeders, which matters when weather turns weird.
View on AmazonOnce the colony is established, these are the upgrades that keep growth on track and keep you from scrambling when dearth or mite pressure shows up.

Extra frames disappear faster than beginners expect once you start replacing ugly comb, making splits, or expanding boxes. Having spares on hand keeps routine hive work from stalling out.
Buy extra frames before you need them, not after a good inspection tells you the hive is ready to expand.
View on Amazon
Fresh foundation lets you rotate out dark comb and give bees straight, clean comb to draw during buildup. It is one of the simplest quality-of-life upgrades for second-box management.
Useful for replacing old comb or stocking extra boxes before the main flow.
View on Amazon
Protein feed is handy when spring arrives late or a package needs a nudge before natural forage is rolling. In Cache Valley, that shoulder-season support can matter more than beginners realize.
Best used intentionally during buildup, not as a default year-round feed.
View on Amazon
Most first-year beekeepers need a simple mite plan before late summer. Apivar is popular because it is straightforward to apply after supers come off and gives beginners a clear schedule to follow.
A practical late-season treatment option to have planned before August arrives.
View on Amazon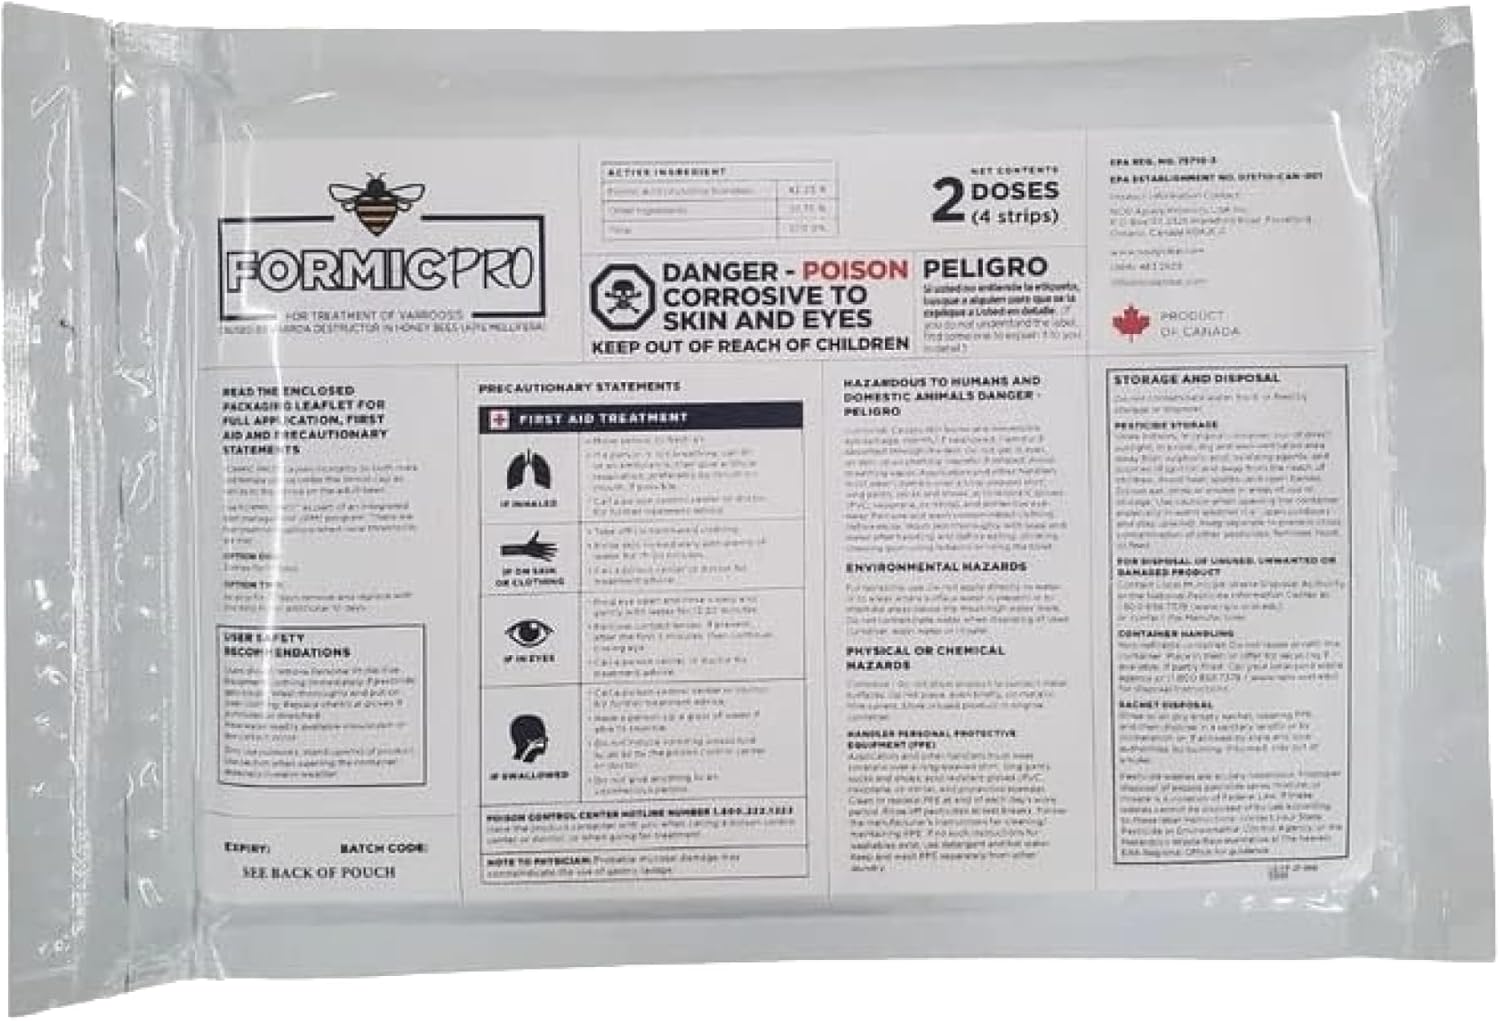
Formic Pro is worth adding if you want an option that can work while brood is present. Temperature rules matter, but it is one of the few beginner-accessible treatments that fits more than one seasonal window.
Read the temperature label carefully, but keep it on your radar before mite counts force a rushed purchase.
View on AmazonThis section is intentionally advice-only. These items are real tools, but most first-year beekeepers do better waiting until an actual problem proves they need them.
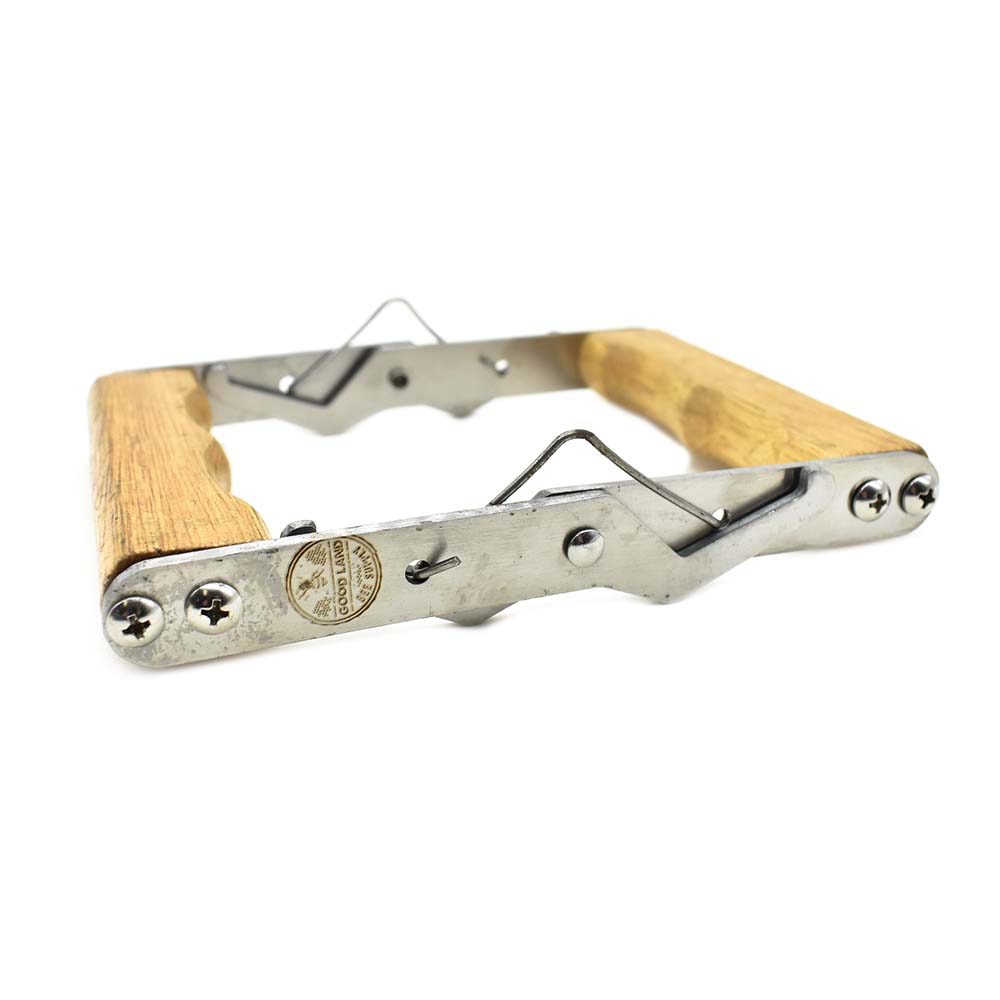
Helpful if you struggle pulling the first frame, but not essential on day one. Many beginners buy one before they have even learned the basic frame dance with a hive tool.
Nice to have once you know your gloves, box spacing, and inspection rhythm still make first-frame removal awkward.
No affiliate link here on purpose. This is a wait-until-you-need-it item, not a first-order essential.
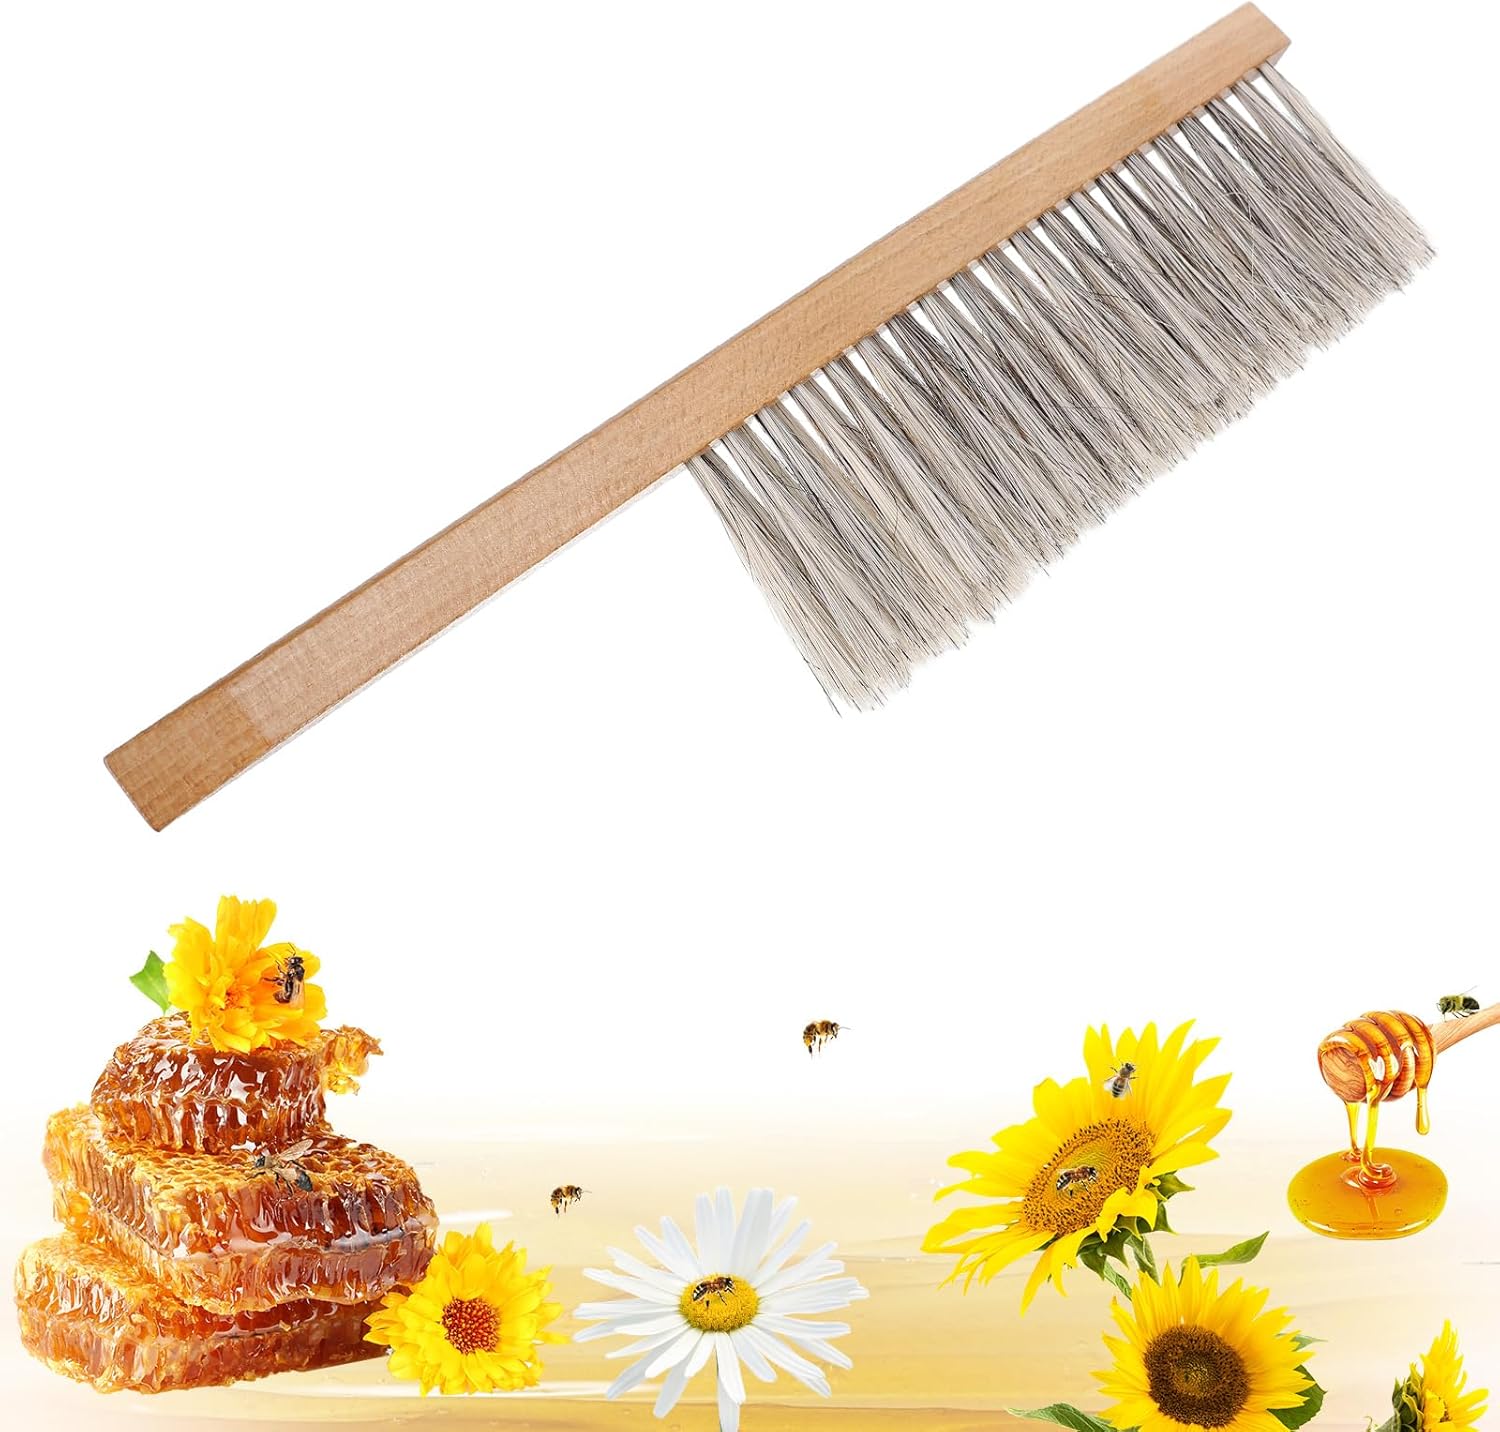
Useful during honey harvest or queen-finding, but easy to overestimate early. Most routine inspections are cleaner and calmer when you use smoke and patient handling instead of brushing bees around.
Save it for later unless you already know you will be harvesting or moving a lot of bees off comb.
No affiliate link here on purpose. This is a wait-until-you-need-it item, not a first-order essential.
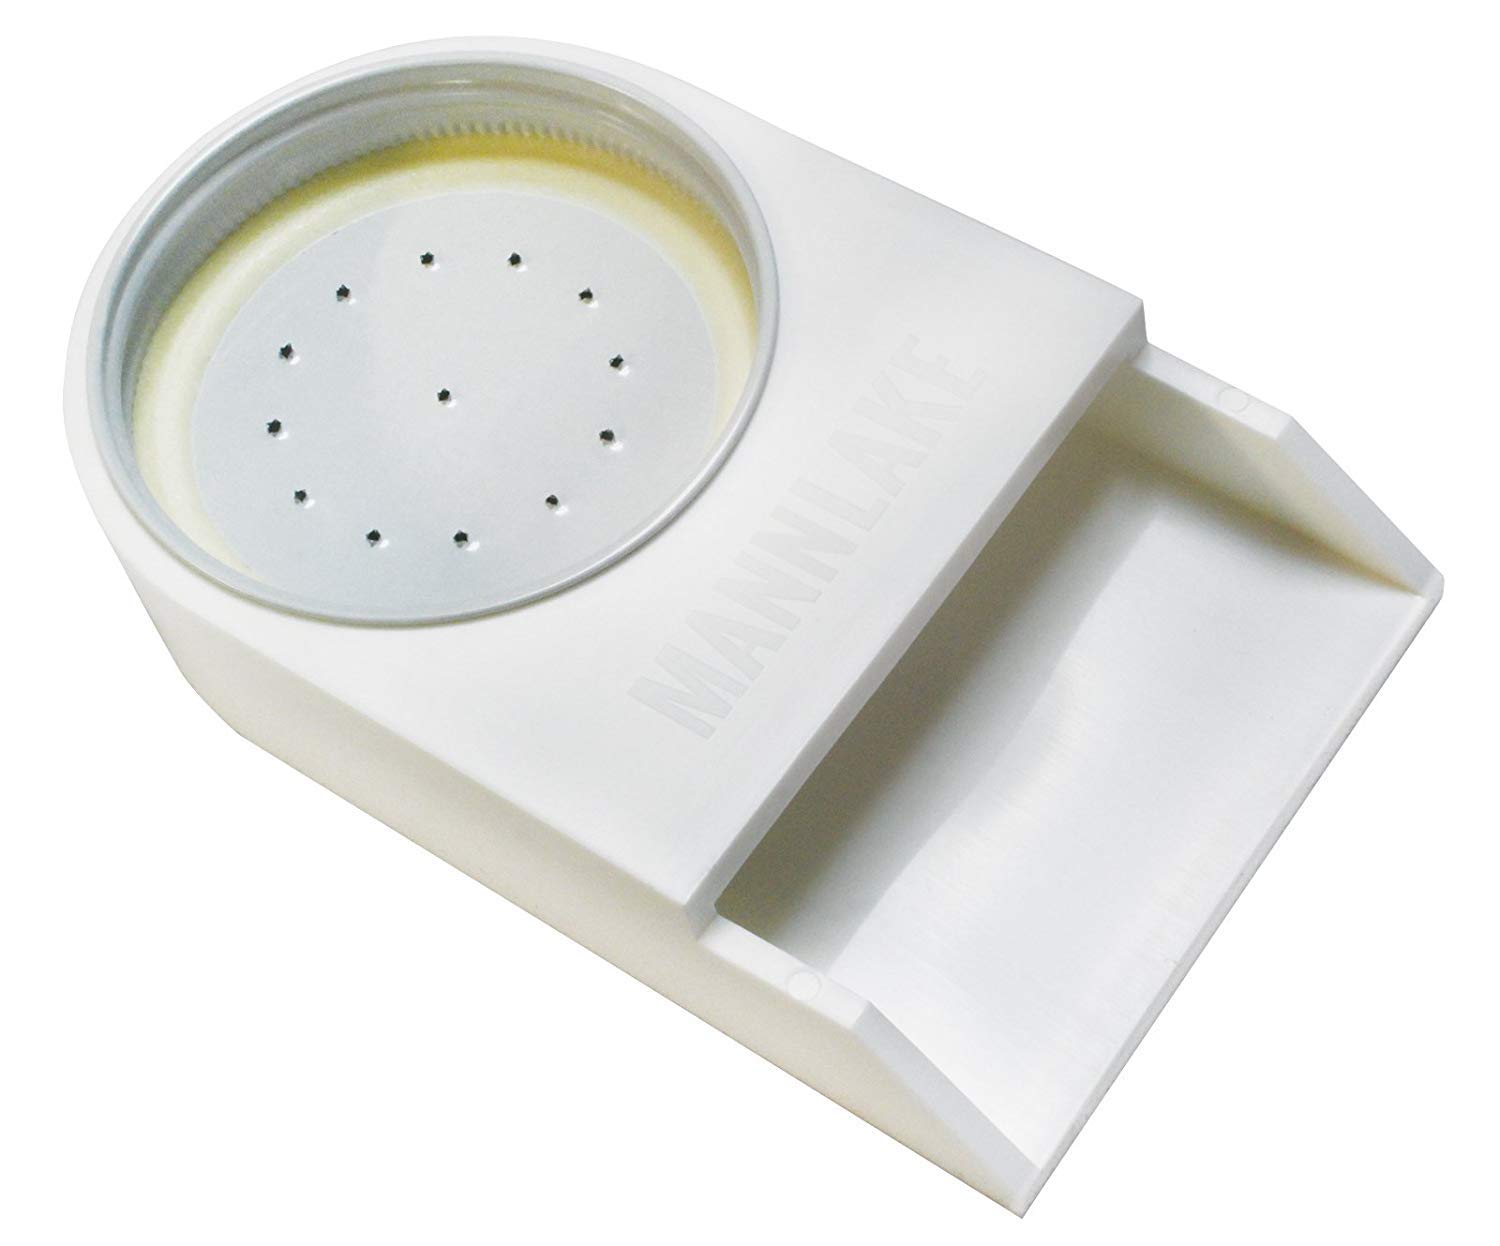
Cheap and visible, but they attract robbing more easily and hold less syrup than better options. Beginners often buy one because it is simple, then replace it quickly.
Fine as a backup, not the feeder we would prioritize first for a Cache Valley beginner hive.
No affiliate link here on purpose. This is a wait-until-you-need-it item, not a first-order essential.
If the full list feels like a lot, here's a realistic way to stage it. Buy the pieces that make your first few inspections safer and smoother, then add extras once the hive is established.
| Budget | Start with | Why it works |
|---|---|---|
| Lean setup | Hive tool, jacket or veil, smoker, one feeder, and your basic hive kit | Gets you through package installation and spring inspections without overspending on gadgets you may not use. |
| Comfort-first setup | Add gloves, frame gripper, and a second feeder style | Helps beginners stay calmer and more consistent, especially if the first few inspections feel clumsy. |
| Prepared-for-fall setup | Add mite-treatment supplies and a few spare frames early | Keeps you from scrambling later when summer turns into fall and varroa pressure starts to matter. |
New beekeepers do better with a short, solid setup than a cart stuffed with extras. Here's what we'd leave off the first order until you know you need it.
Northern Utah beginners deal with a shorter spring buildup, summer dearth, and real winter prep, and that shifts what matters. A feeder earns its keep when a package is drawing comb in a cold April. Protective gear stops being optional the first time you try to inspect a defensive colony while you're still learning. And mite-management supplies belong in the first-year budget, not as an afterthought in September.
For a fuller walkthrough before you buy, read the beginner checklist, the start here guide, and our complete beginner beekeeping guide. The list above plus those three reads will give you the plan, not just the cart.